Google Cross Domain Tracking
Jump to navigation
Jump to search
Cross Domain Tracking
This page explains how to use cross domain tracking with Google when using the booking page under your own domain.
Contents
1 Setup
Step 1: Create an Account at TagManager
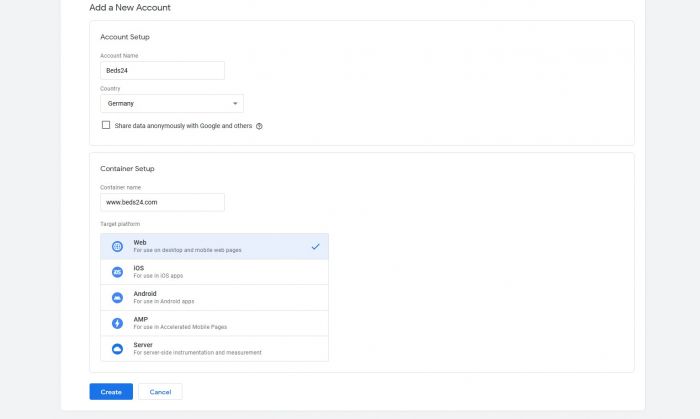
- Go to google tag manager https://tagmanager.google.com/?hl=en#/admin/accounts/create and create an account.
- In Add New Account set:
Account Name: example: Beds24
Country: Germany (example)
Under Container Set up add:
Container Name:Example: www.Beds24.com
- Target Platform: Choose Web
- Click on Create.
- Agree the Terms of Use of Google
2 Beds24 Setup
- Go to (SETTINGS) > BOOKING ENGINE > PROPERTY BOOKING PAGE > DEVELOPERS under Advanced HTML Settings in Insert in HTML <HEAD>
- Add the Code
Example code:
<script>(function(w,d,s,l,i){w[l]=w[l]||[];w[l].push({'gtm.start':
new Date().getTime(),event:'gtm.js'});var f=d.getElementsByTagName(s)[0],
j=d.createElement(s),dl=l!='dataLayer'?'&l='+l:;j.async=true;j.src=
'https://www.googletagmanager.com/gtm.js?id='+i+dl;f.parentNode.insertBefore(j,f);
})(window,document,'script','dataLayer','GTM-123456');</script>
- Additionally, paste this code immediately after the opening <body> tag. You can add it in any field in Source code in (SETTINGS) SETTINGS > BOOKING ENGINE > BOOKING PAGE > CONTENT
Example Code:
<noscript><iframe src="https://www.googletagmanager.com/ns.html?id=GTM-123456"
height="0" width="0" style="display:none;visibility:hidden"></iframe></noscript>
The codes provided here are only examples. Don´t use them in your page!
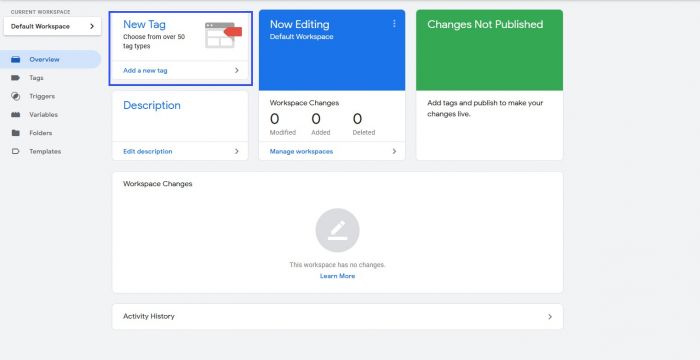
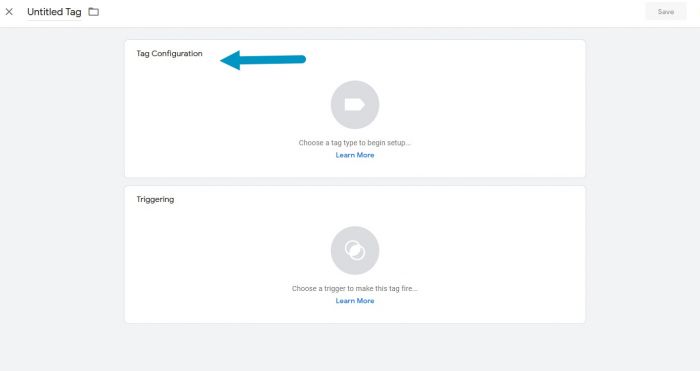
3 Google Tag Manager dashboard
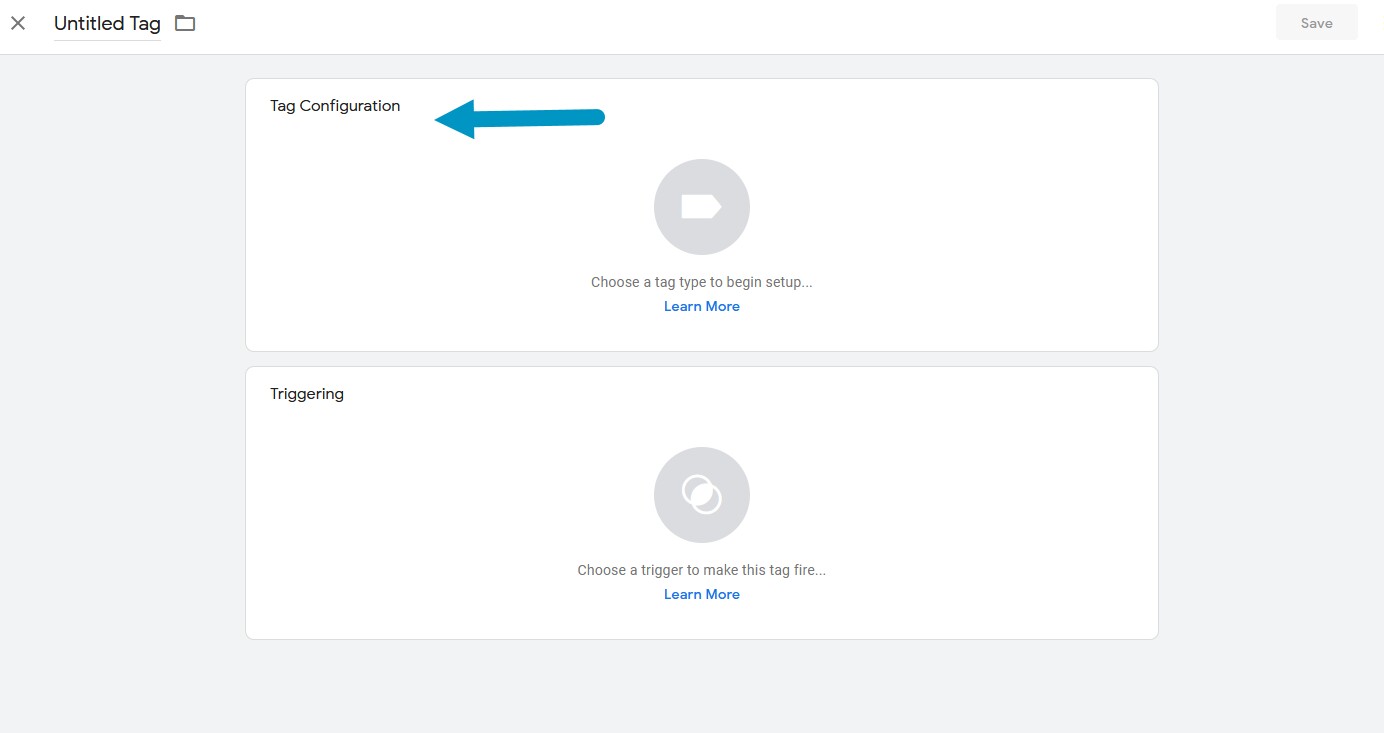
- On the Workspace Overview screen, click New Tag:
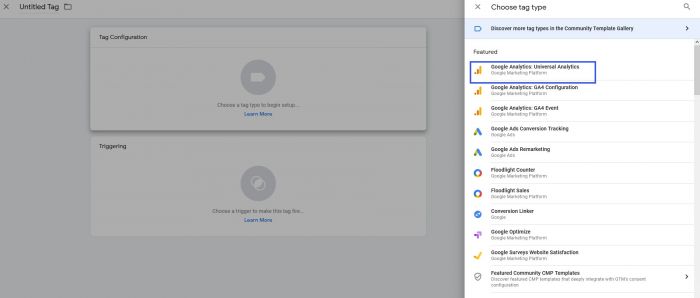
- Click Tag Configuration and choose Universal Analytics:
- Select Pageview as the Track Type.
- Create a new Google Analytics Settings Variable
- Enter your Tracking ID: Example: UA-12345678-9
- Click More Settings -> Cross Domain Tracking
- Under Auto Link Domains enter "Beds24.com" and click Save
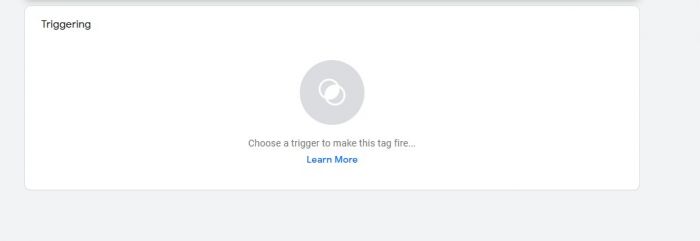
- Click Triggering
- Choose All Pages (or appropriate choice for your setup)
- Click Save, Submit and Publish