Google Cross Domain Tracking: Difference between revisions
Jump to navigation
Jump to search
No edit summary |
|||
| (7 intermediate revisions by the same user not shown) | |||
| Line 7: | Line 7: | ||
This page explains how to use cross domain tracking with Google when using the booking page under your own domain. | This page explains how to use cross domain tracking with Google when using the booking page under your own domain. | ||
__TOC__ | |||
| Line 17: | Line 17: | ||
*In Add New Account set: | *In Add New Account set: | ||
Account Name: example: Beds24 | |||
Country: Germany (example) | |||
Under Container Set up add: | Under Container Set up add: | ||
Container Name:Example: www.Beds24.com | |||
*Target Platform: Choose Web | *Target Platform: Choose Web | ||
| Line 42: | Line 42: | ||
Example code: | Example code: | ||
<!-- Google Tag Manager --> | <code><!-- Google Tag Manager --> | ||
<script>(function(w,d,s,l,i){w[l]=w[l]||[];w[l].push({'gtm.start': | <script>(function(w,d,s,l,i){w[l]=w[l]||[];w[l].push({'gtm.start': | ||
new Date().getTime(),event:'gtm.js'});var f=d.getElementsByTagName(s)[0], | new Date().getTime(),event:'gtm.js'});var f=d.getElementsByTagName(s)[0], | ||
| Line 48: | Line 48: | ||
'https://www.googletagmanager.com/gtm.js?id='+i+dl;f.parentNode.insertBefore(j,f); | 'https://www.googletagmanager.com/gtm.js?id='+i+dl;f.parentNode.insertBefore(j,f); | ||
})(window,document,'script','dataLayer','GTM-123456');</script> | })(window,document,'script','dataLayer','GTM-123456');</script> | ||
<!-- End Google Tag Manager --> | <!-- End Google Tag Manager --></code> | ||
*Additionally, paste this code immediately after the opening <body> tag. You can add it in any field in Source code in (SETTINGS) SETTINGS > BOOKING ENGINE > BOOKING PAGE > CONTENT | *Additionally, paste this code immediately after the opening <body> tag. You can add it in any field in Source code in (SETTINGS) SETTINGS > BOOKING ENGINE > BOOKING PAGE > CONTENT | ||
| Line 54: | Line 54: | ||
Example Code: | Example Code: | ||
<!-- Google Tag Manager (noscript) --> | <code><!-- Google Tag Manager (noscript) --> | ||
<noscript><iframe src="https://www.googletagmanager.com/ns.html?id=GTM-123456" | <noscript><iframe src="https://www.googletagmanager.com/ns.html?id=GTM-123456" | ||
height="0" width="0" style="display:none;visibility:hidden"></iframe></noscript> | height="0" width="0" style="display:none;visibility:hidden"></iframe></noscript> | ||
<!-- End Google Tag Manager (noscript) --> | <!-- End Google Tag Manager (noscript) --></code> | ||
<div class="warning">{{#fas:exclamation-triangle}} The codes provided here are only examples. Don´t use them in your page!</div> | |||
= Google Tag Manager dashboard = | = Google Tag Manager dashboard = | ||
| Line 72: | Line 74: | ||
[[image:Googletagmanager3.jpg|700px|link=]] | [[image:Googletagmanager3.jpg|700px|link=]] | ||
[[Media: | [[Media:Googletagmanager3.jpg|view large]] | ||
[[image:Googletagmanager4.jpg|700px|link=]] | [[image:Googletagmanager4.jpg|700px|link=]] | ||
[[Media: | [[Media:Googletagmanager4.jpg|view large]] | ||
*Select Pageview as the Track Type. | |||
*Create a new Google Analytics Settings Variable | |||
*Enter your Tracking ID: Example: UA-12345678-9 | |||
*Click More Settings -> Cross Domain Tracking | |||
*Under Auto Link Domains enter "Beds24.com" and click Save | |||
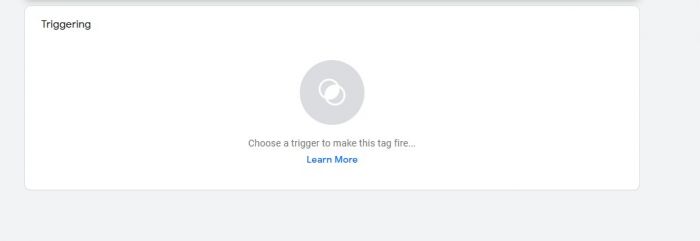
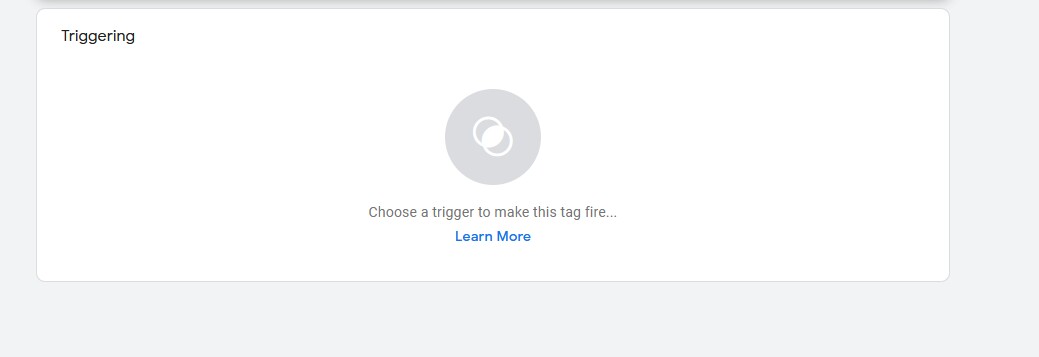
*Click Triggering | |||
[[image:Googletagmanager5.jpg|700px|link=]] | |||
[[Media:Googletagmanager5.jpg|view large]] | |||
*Choose All Pages (or appropriate choice for your setup) | |||
*Click Save, Submit and Publish | |||
Latest revision as of 12:36, 15 September 2022
Cross Domain Tracking
This page explains how to use cross domain tracking with Google when using the booking page under your own domain.
Setup
Step 1: Create an Account at TagManager
- Go to google tag manager https://tagmanager.google.com/?hl=en#/admin/accounts/create and create an account.
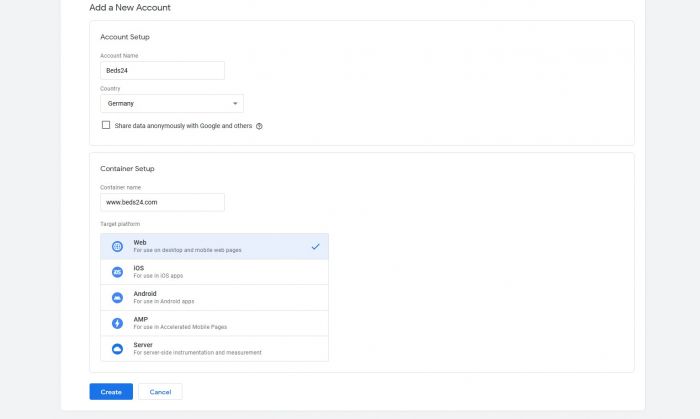
- In Add New Account set:
Account Name: example: Beds24
Country: Germany (example)
Under Container Set up add:
Container Name:Example: www.Beds24.com
- Target Platform: Choose Web
- Click on Create.
- Agree the Terms of Use of Google
Beds24 Setup
- Go to (SETTINGS) > BOOKING ENGINE > PROPERTY BOOKING PAGE > DEVELOPERS under Advanced HTML Settings in Insert in HTML <HEAD>
- Add the Code
Example code:
<script>(function(w,d,s,l,i){w[l]=w[l]||[];w[l].push({'gtm.start':
new Date().getTime(),event:'gtm.js'});var f=d.getElementsByTagName(s)[0],
j=d.createElement(s),dl=l!='dataLayer'?'&l='+l:;j.async=true;j.src=
'https://www.googletagmanager.com/gtm.js?id='+i+dl;f.parentNode.insertBefore(j,f);
})(window,document,'script','dataLayer','GTM-123456');</script>
- Additionally, paste this code immediately after the opening <body> tag. You can add it in any field in Source code in (SETTINGS) SETTINGS > BOOKING ENGINE > BOOKING PAGE > CONTENT
Example Code:
<noscript><iframe src="https://www.googletagmanager.com/ns.html?id=GTM-123456"
height="0" width="0" style="display:none;visibility:hidden"></iframe></noscript>
The codes provided here are only examples. Don´t use them in your page!
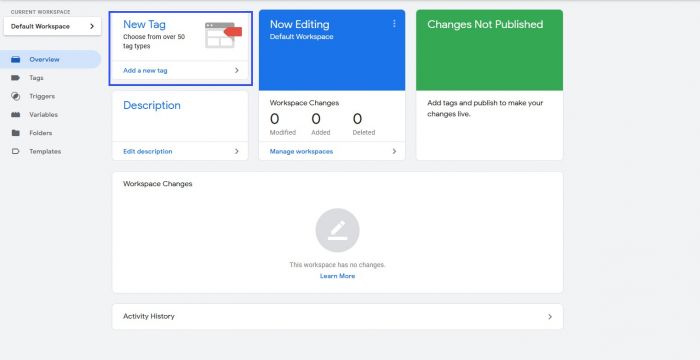
Google Tag Manager dashboard
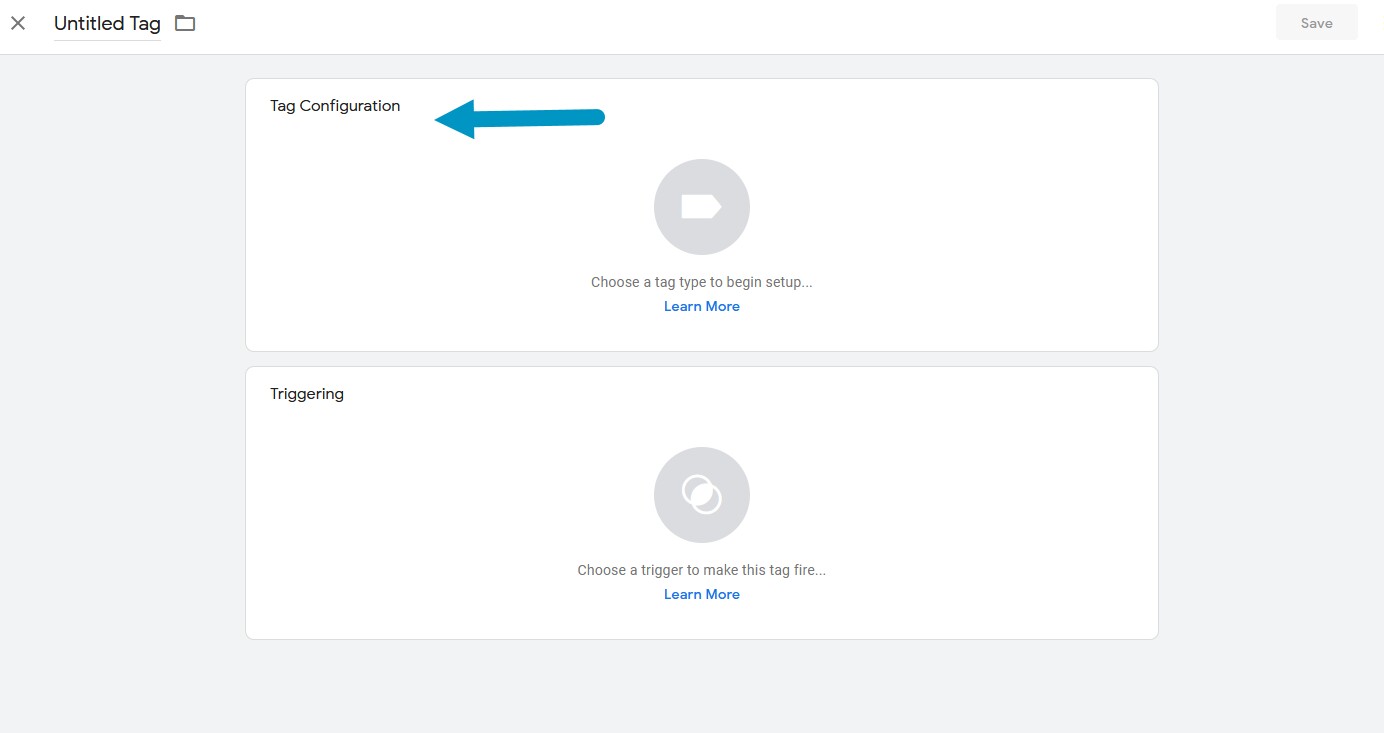
- On the Workspace Overview screen, click New Tag:
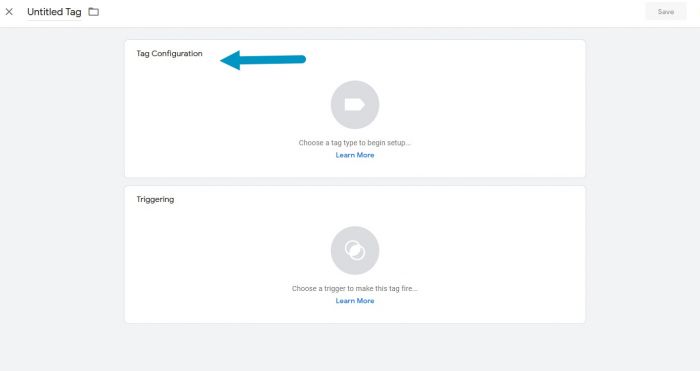
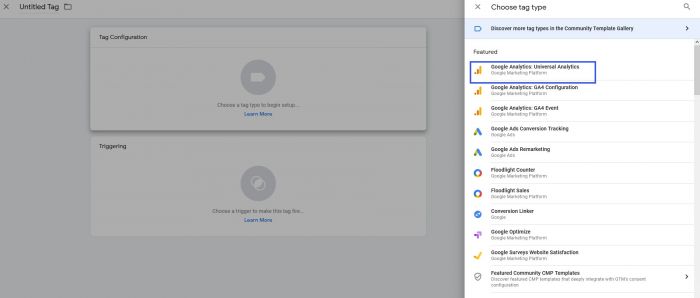
- Click Tag Configuration and choose Universal Analytics:
- Select Pageview as the Track Type.
- Create a new Google Analytics Settings Variable
- Enter your Tracking ID: Example: UA-12345678-9
- Click More Settings -> Cross Domain Tracking
- Under Auto Link Domains enter "Beds24.com" and click Save
- Click Triggering
- Choose All Pages (or appropriate choice for your setup)
- Click Save, Submit and Publish